Preparation
● To reduce the chance of bacteria transfer, thoroughly cleanse both your skin and the roller. Use gloves if possible.
-
● It’s best to derma roll at night when your skin isn’t susceptible to sun damage.
-
● If you’re sticking to this evening regime, you may want to consider double cleansing to get rid of oil and dirt that’s built up on your skin during the day.
-
● To clean the derma roller, soak it in an alcohol-based solution. Then dry and place on a clean paper towel.
Process
-
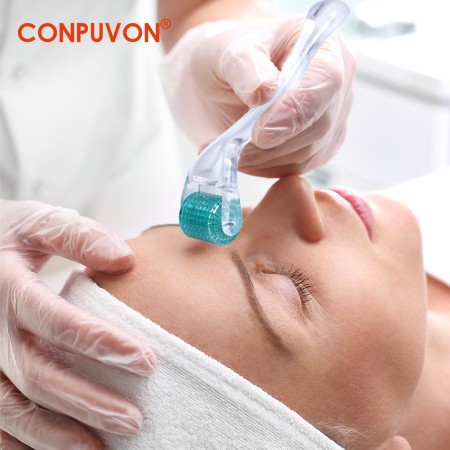
● If using a serum with your derma roller, apply the product to your face before getting down to business. -
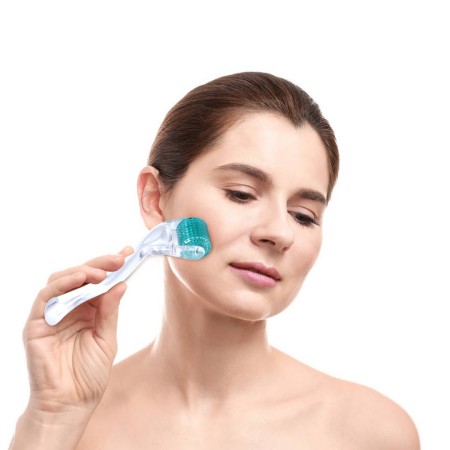
● The rolling method involves three parts: vertical, horizontal, and diagonal movements.
-
● Start by rolling the derma roller up and down your forehead, cheeks, and chin, making sure not to apply too much pressure.
-
● Then, switch to horizontal movements followed by diagonal ones. Spend no more than 2 minutes doing this.
-
● Stay away from the eye area and be extra careful on sensitive places such as the nose and upper lip.
 |
 |
Cleanup
-
● Always clean your derma roller after each use. -
● Disinfect it by spritzing with a 70 percent isopropyl alcohol spray
-
● Don’t let anyone else use your roller and replace it at least
How often should you repeat the process?
-
● Start once a week to see how your skin reacts to the needles. -
● If everything’s looking good, you can increase the frequency to two or three times a week.
-
● Just make sure you aren’t going over the 2-minute limit each time.
When will you see results?
-
● The longer you carry on rolling, the more likely you are to see a difference. Take stock after 6 to 12 weeks of regular derma rolling. -
● If you’re trying to improve signs of aging or scarring, it may take months before you see a prominent change